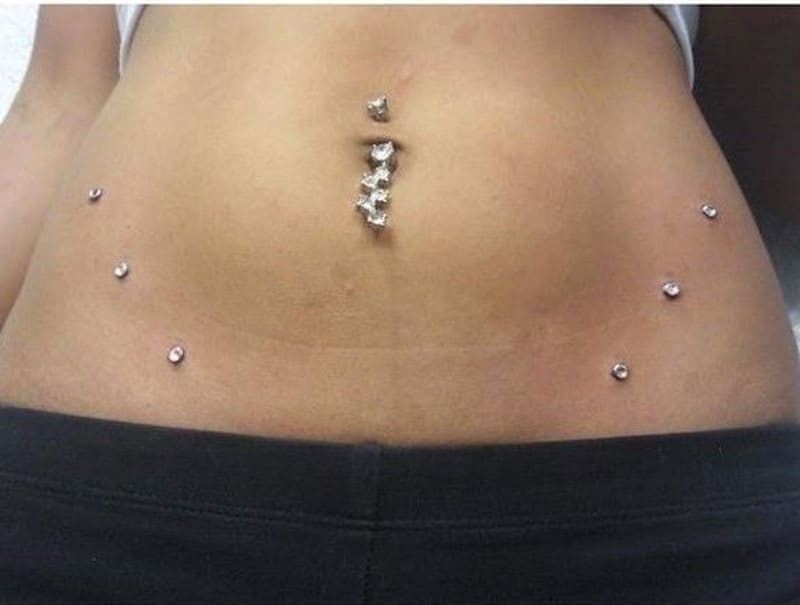
The hip piercing is one of the trendiest piercing among young teenagers and adults. This piercing is especially popular with women. Hip piercing is a type of body modification that is located in the pelvic region.

Hip Piercings
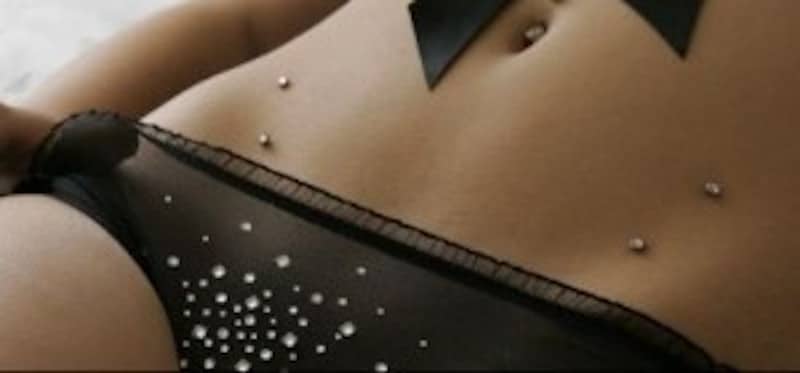
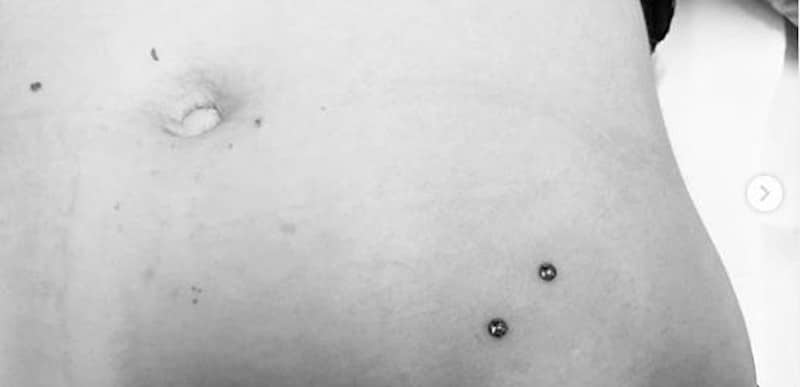
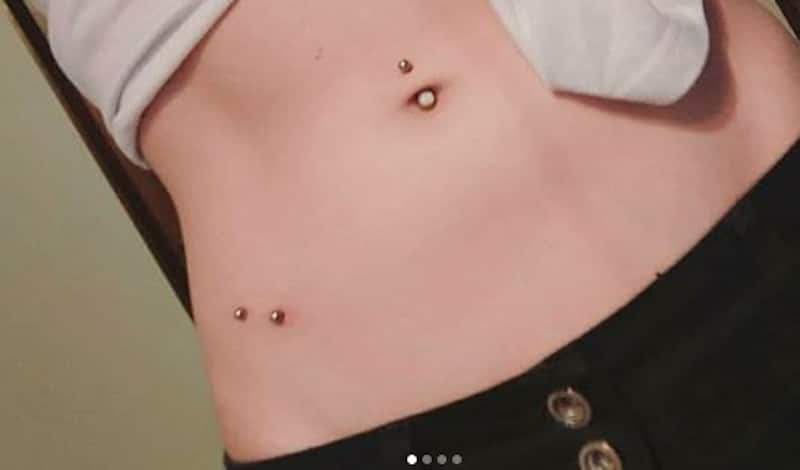
A perforation is created on both sides of the skin area near the hip bone to create hip piercings. This piercing looks great on women who love cropped tops and summer beachwear. Hip piercings are often done in couplets on both sides of the hips; Although, there are also some piercing enthusiasts who opt for a single or triple hip piercing on both sides of the hips. Its beauty is more appreciated when patterned symmetrically.

It would be really odd to see an asymmetrical hip piercing that is only placed on one side of the hip. If you want to boldly express your personality, hip piercing is one of the best ways to do so. There are two main types of hip piercing: Surface hip piercing and microdermal hip piercing
Hip Piercing Procedures
As we always say, before getting any type of piercing please be careful in choosing your piercing studio. As much as possible, do your homework and check the history and reputation of the shop.
The piercing would always start with the cleaning of the hip area, whether you are getting a surface hip piercing or a microdermal hip piercing. After the sanitation procedures, there would be different steps and tools used to depending on your choice of the hip piercing.
Surface Hip Piercing
Surface piercing uses a surface barbell as a body embellishment. Since this piercing uses surface barbells, its procedure includes creating a perforation on the skin for the barbell to go through. There will be a need to create a hollow tunnel underneath the surface of the skin.
In this procedure, the piercer may either use a needle or a scalpel. This is a traditional way of piercing so the procedure is somehow the same to the way other areas of the body are pierced like ears and nose. The piercer will use a clamp to pinch the skin together.
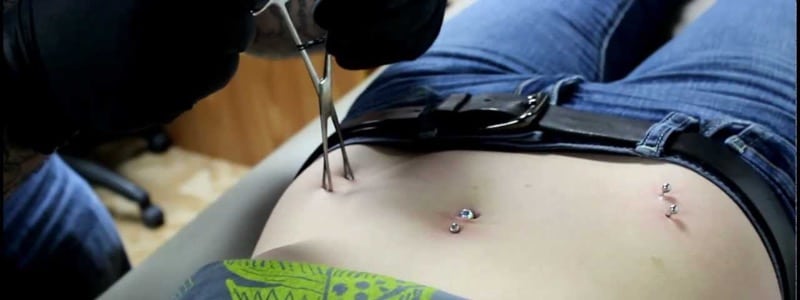
It is important to pinch the skin since it helps the piercer create the perforation faster. It will also be less painful for you. Needle surface piercing is less popular because of the rise of new piercing techniques like a micro dermal piercing. Some would say that using a needle in surface hip piercing brings higher chances of rejection. They also believe that it is less optimal than micro dermal piercing.
The other procedure for surface piercing is aided by a scalpel. The scalpel is primarily used to create a pocket on the skin instead of a tunnel. This procedure is more popular than needle surface piercing because it does not bring too much stress on the skin and it has a lower rejection rate. After the tunnel or pocket is created in the skin, the jewelry is inserted
Microdermal Hip Piercing
Microdermal hip piercing is a modern option. Like the surface hip piercing, microdermal hip piercing also has two variations. One is performed with the use of a needle while the other is performed with the use of a dermal punch. With needle microdermal hip piercing, the piercer will start by cleaning the hip area with a special tool called surgical scrub.
Once the area is clean, the piercer will puncture the skin in a distinct way. The piercer will not puncture the skin in just a straight shape, he will puncture it following the shape of the letter “L”. This technique helps the jewelry stay in place.
As the L shape is created, there is a pouch created on the skin. This pouch is basically where the plate and anchor of the dermal jewelry are placed. Once the L-shaped puncture on the skin is done, the piercer will use either a surgical tweezer or pincer to insert the jewelry into the skin. These tweezers are also called forceps. The jewelry plate or anchor is placed first on the pouch followed by the jewelry top bead itself.
The jewelry top is then screwed to the anchor and the procedure is done. On the other hand, the procedure for dermal punch hip piercing is different. Instead of creating an L-shaped puncture on the skin, the dermal punch removes some skin tissues for the jewelry to go into.
This is the best procedure because it minimizes the risks of getting the jewelry into deep layers of the skin. It is also less painful and faster to do.
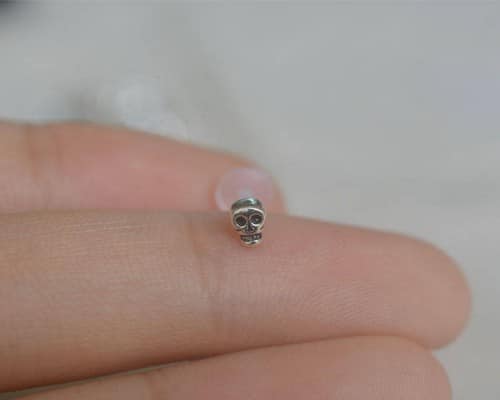
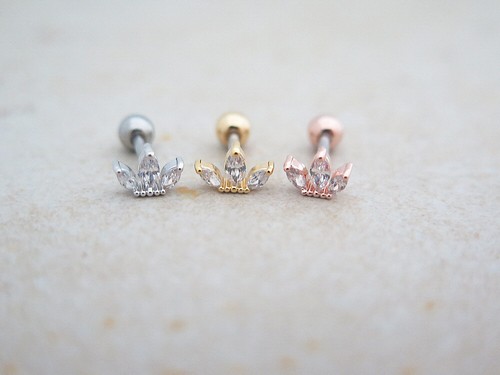
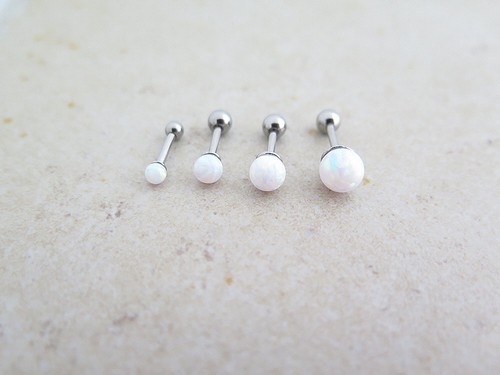
Hip Piercing Jewelry
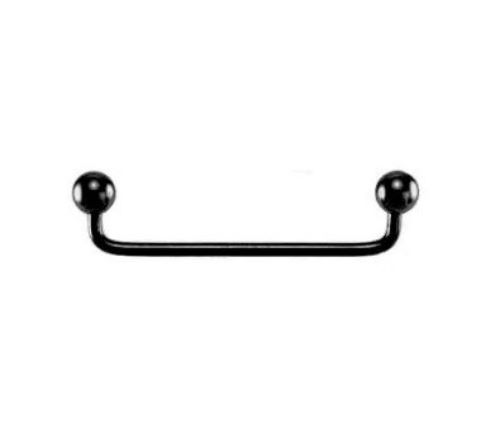
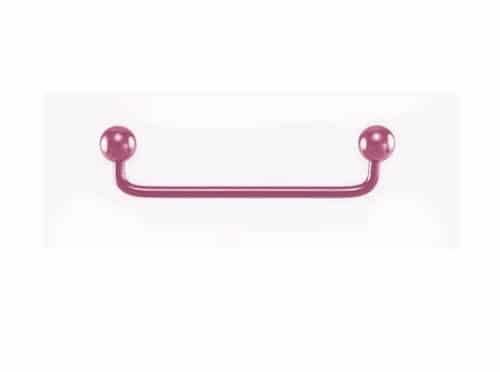
For surface piercings, the best jewelry options are surface barbells. When it comes to surface barbells for hip piercings, we would recommend you get jewelry that is made of titanium and surgical steel. It is also best to get a surface barbell that has a 90-degree angle on both sides.

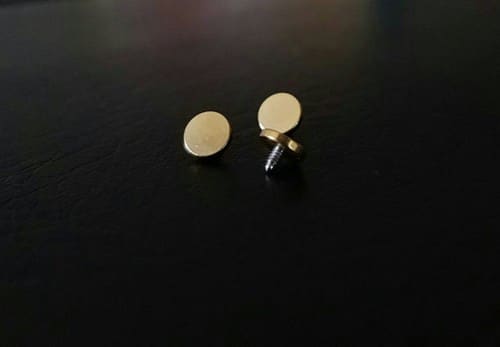
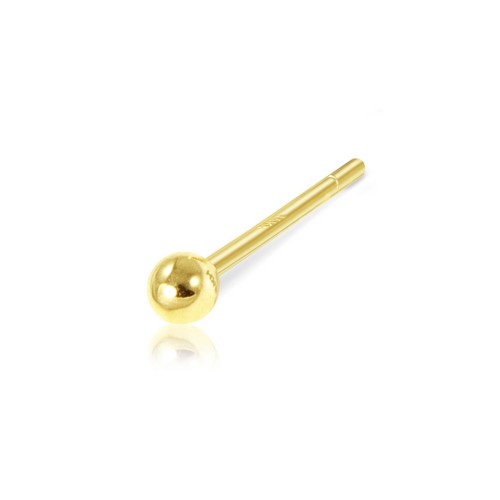
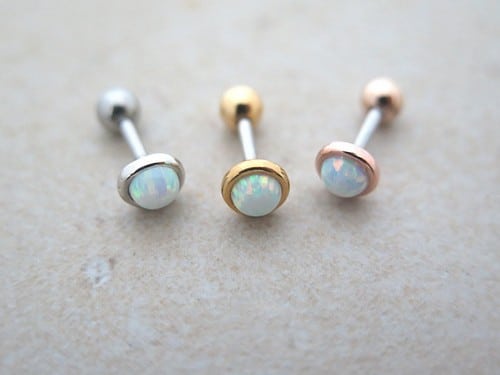
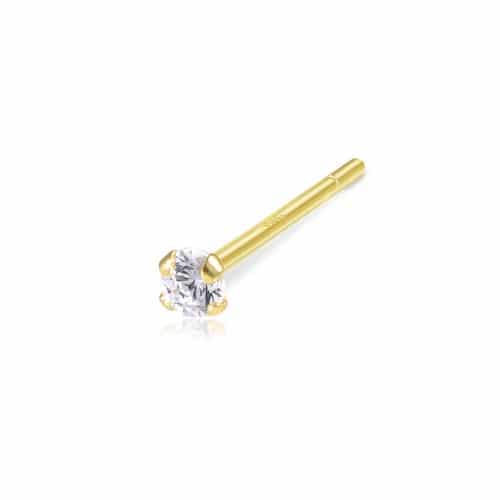
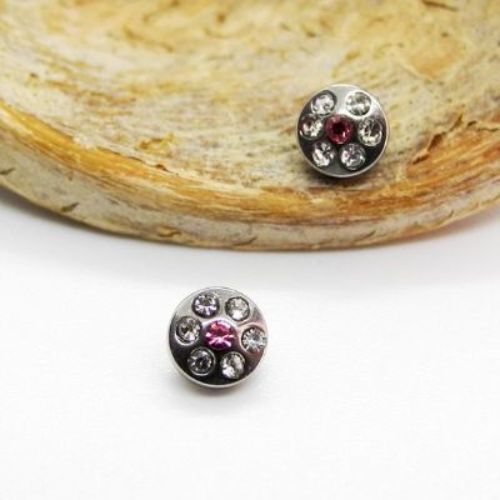
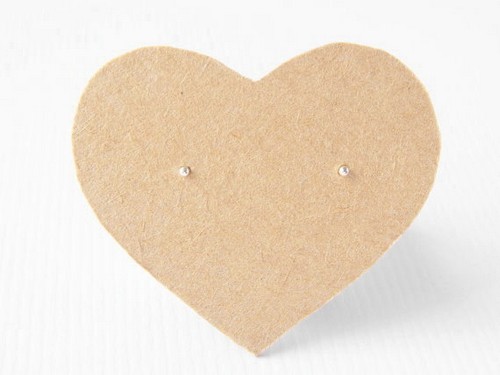
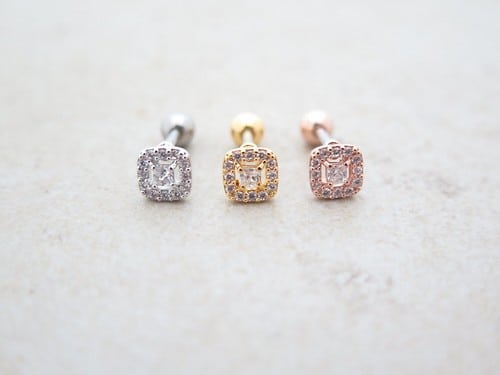
For initial piercing, it is best to go for high-quality plastic surface barbells or Tygon jewelry since they are effective in minimizing pressure in the hip piercing. This can also help reduce the chances of experiencing rejection. For microdermal hip piercing, the best jewelry options are skin divers and dermal anchors. The use of this jewelry somehow lessens the possibility of rejection.
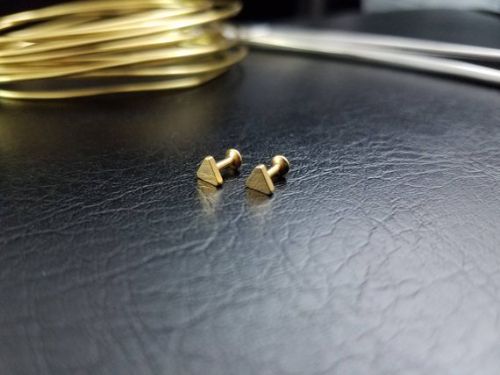
Microdermal Hip Piercing Jewelry
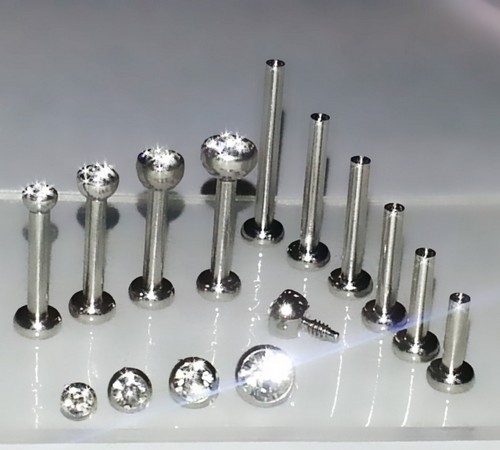
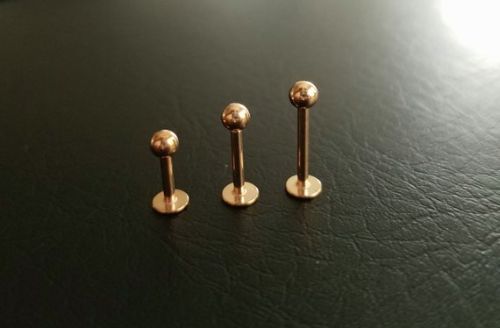
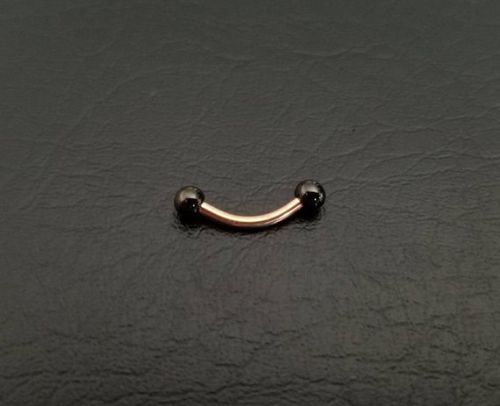

Surface Hip Piercing Jewelry
Hip Piercing Pain
Surface piercings are typically less painful compared to cartilage piercings like Forward Helix Piercing and the procedure is not that hard to go through. In comparison with other types of piercing, of course, microdermal piercing would be a lot less painful than surface piercing.
Hip Piercing Cost
The cost would depend on which type of hip piercing you choose. Be sure to choose the best and most reputable piercing shop in your area. The price for either of the piercings can range from $40-$120.
Hip Piercing Healing
There will be swelling and soreness after the initial hip piercing but they should be gone in 3-4 days; although, the piercing may take a whole year to heal completely. It will all depend on the person’s body; some people heal faster than others. The best way to ensure your hip piercing heals faster is by following the correct aftercare tips.
If you see white crusts forming around your hip piercing, do not panic because they are natural and normal. They are lymph that the hip piercing secretes. Releasing the white pus is a natural reaction of the body when it is healing. You can always get a cotton ball and warm salt water to wipe it away.
Hip Piercing Infection and Complications
While your piercing is in the healing phase, it is very important for you the follow proper caring habits to avoid infections and complications. The hips are unique and movable locations. There always are movements on our hips which may place a huge factor in developing infections and complications.
Here are a few red flags that you should watch out during the healing period of your piercing: worse swelling, inflammation, redness for days, and yellow discharge. If the piercer uses unsterilized tools, you may end up having a bacterial infection. If you see any of these, chances are that the site is infected. It can be because of poor cleaning habits or unsanitized piercing tools used.
When the body becomes highly sensitive to foreign objects, it would result in rejection. When rejection happens, it is followed by migration. Migration is a huge risk in hip piercings whether it is surface or microdermal. This is because your body naturally expels foreign objects; although, rejection still depends on the person’s skin and person’s activities.
If you are a very active person, there is a high chance for rejection since the more tension the hip piercing it is exposed, the more prone it will be with rejection. Rejection can also be caused by the jewelry used or the procedure you chose. As we said above, surface needle piercing has a higher chance of rejection.
Other risks you should know are skin, blood vessel, and nerve damage. This risk can primarily be a result of getting a piercing from a novice piercer. This is why it is extremely important to only get the piercing done on highly reputable piercing studios.

If an unprofessional piercer creates a very deep puncture in your skin, your skin may end up embedding the jewelry. If the piercer creates a shallow puncture on your skin, you may end up suffering from the risks of migration and rejection. There are many ways on how to keep piercing from migrating; please follow the aftercare tips below.
Hip Piercing Aftercare
It is very important that you should take good care of your hip piercing since it takes a longer time to heal completely. Hence, if you are planning to get a hip piercing then you need to be very careful. Keep in mind that this piercing area is prone to constant motion and contact. Consequently, there are great chances of migration as well as rejection. That is why it is essential to maintain a proper hip dermal piercing aftercare.
Hip Piercing Aftercare Instructions
- Step One
Use antibacterial soap in cleaning the hip piercing. - Step Two
Sanitize the hands before touching the piercing. - Step Three
You can clean the piercing while taking a bath. - Step Four
You can clean it with a sterilized cotton ball as well. Dip it in warm salted water for better results. - Step Five
After cleaning the area, ensure to dry it out completely with a soft towel. - Step Six
When drying it out, be gentle and careful in dabbing the piercing with a soft towel or tissue paper. - Step Seven
There are sea salt sprays that you can use on your piercing. These sprays can be sprayed for 3-6 times a day. They will keep the area clean and moisturized. - Step Eight
Create your own sea salt solution by combining a quarter teaspoon of sea salt and a cup of boiled but cold water. - Step Nine
Another option to keep the skin moisturized by using 3 drops of tea tree oil.
Suggested Aftercare Products For Hip Piercing
Choosing the right products for aftercare is half the battle. We have compiled a list of our favorite products below for you. You can also find our honest reviews below, as well. We hope this will help you choose the correct product for you!
H2Ocean Piercing Aftercare Spray
[amazon fields=”B0009F79EQ” value=”thumb” image_size=”large” image_alt=”H2Ocean Hip Piercing Aftercare Spray”]
This product is a combination of sea salt and lysozyme, making it the best solution for reducing the healing period. At the same time, it can eradicate adverse effects that usually occur on new hip piercings. According to research, the healing period can be shortened by a natural healing environment instead of attempting to heal it with chemicals that can kill beneficial bacteria.
[amazon fields=”B0009F79EQ” value=”button”]
Whole Life Piercing Serum In Tea Tree Oil
[amazon fields=”B00F9HVI2I” value=”thumb” image_size=”large” image_alt=”Helix Piercing Serum In Tea Tree Oil”]
A piercing serum that is ideal for your hip piercing aftercare. It is formulated with Australian Tea Tree Oil, Vitamin E, Jojoba Oil, and Lavender Oil. Use this piercing serum to prevent bacterial infection and redness from your new piercing. It can eliminate germs and can also be used as a mild painkiller. Very easy to use, simply pump the container.
[amazon fields=”B00F9HVI2I” value=”button”]
X-pression Extra Strength Liquid Swabs
[amazon fields=”B00414LQVS” value=”thumb” image_size=”large” image_alt=”Hip Piercing Liquid Swabs”]
X-pressions Swabs aftercare is anti-bacterial and anti-microbial. You can use it on any area of your piercing. This extra strength medicated liquid swabs are best for both external and internal use. One pack contains 24 swabs.
[amazon fields=”B00414LQVS” value=”button”]
Whole Life Stretching Balm in Tea Tree Oil
[amazon fields=”B00F9HVITQ” value=”thumb” image_size=”large” image_alt=”Whole Life Tea Tree Oil Aftercare Balm”]
Stretching Balm with Tea Tree Oil is antiseptic, antimicrobial, and antifungal. It can help in healing your hip piercing quickly. This piercing balm includes healing property.
[amazon fields=”B00F9HVITQ” value=”button”]
Hip Piercing Aftercare Tips
- Avoid bacterial infection by not using a loofah or washcloth while taking a bath since these may have bacteria.
- Avoid going on swimming.
As much as possible, wear loose garments so you can avoid too much pressure on the piercing. - Eat nutritious food and have enough sleep. The body can heal faster and better if you are getting the proper nutrients and sleep.
- Never play with the jewelry on the skin.
- Do not apply lotions, moisturizers, ointments, body sprays, perfumes, and makeup to the pierced area.
We hope you found everything you were looking for about the orbital piercing. Try the most basic or most advanced hip piercings and you will surely get an instant kickass look.

Hello! My name is Emily and I obsessed with piercings (and tattoos) since I was a little girl of 6 years old. I was fortunate enough to make my passion my work after meeting my amazing husband Jeffrey who owned his own tattoo shop. I just recently finished my internships at some of America’s most famous piercing shops and a dream to start something together was born. After falling in love with each other (and each other’s piercings and tattoos) we decided to expand his tattoo shop and I got to manage my own piercing shop in the same space! I’ve never been so happy being able to share my love for piercings through my shop and this blog I started back in 2013. We love to share models and inspiration, so feel free to email me your suggestions, pictures or if you just want to say hi!